Little Scientists, Big Discoveries
Unleashing Curiosity in the Classroom Through Hands-On Science
Explore the ScienceWhy Hands-On Science is the Key to Unlocking Young Minds
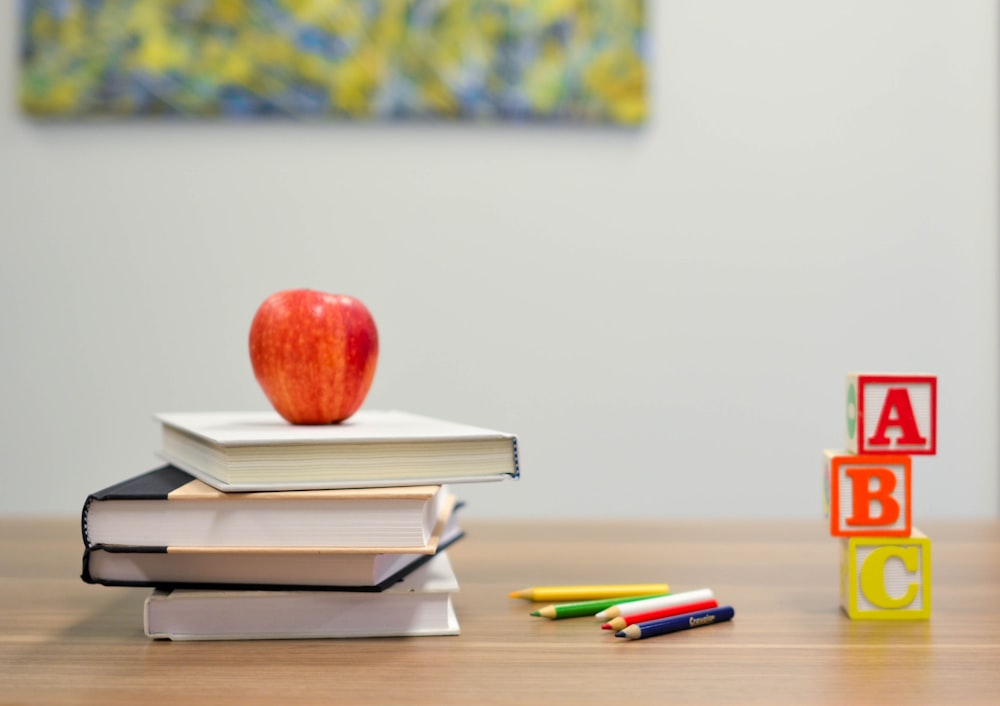
Imagine a classroom not of silent, note-taking students, but of buzzing, inquisitive investigators. One group is carefully observing the slow creep of a vine towards a light source. Another is mixing household ingredients, their faces alight with surprise as a reaction fizzes over.
This is the world of practical science, where abstract concepts become tangible, and the question "Why?" is answered not with a textbook, but with an experiment. For children aged 5 to 11, this hands-on approach isn't just fun—it's fundamental to building a lifelong understanding of the world. It transforms science from a subject to be memorized into a process to be experienced.
The "Why" Behind the "Wow": The Pedagogy of Practical Science
Inquiry-Based Learning
At its core, practical science for young students is about bridging the gap between theory and reality. It's founded on the principles of inquiry-based learning, where students learn by actively posing questions, investigating, and developing solutions.
The Scientific Method
This isn't a complex, scary term. For a child, it's simply: Ask a question, make a guess (hypothesis), test it (experiment), see what happens (observe), and tell others what you found out. Practical activities make this cycle concrete.
Ages 5-7
Focus on observation, description, and sorting (e.g., sorting leaves by shape, describing the texture of rocks).
Ages 8-11
Introduce measuring, simple data recording, and fair testing (changing one variable at a time to see its effect).
Cross-Curricular Links
Science investigations naturally weave in math (measuring, graphing), literacy (writing reports, new vocabulary), and art.
An In-Depth Look: The Classic Volcano Eruption
Let's dive into a quintessential, yet deeply educational, experiment: the baking soda and vinegar volcano.
Methodology: Building the Eruption
Results and Analysis
The immediate result is a thrilling, foamy, red "lava" that bubbles out of the volcano. But what's the scientific importance?
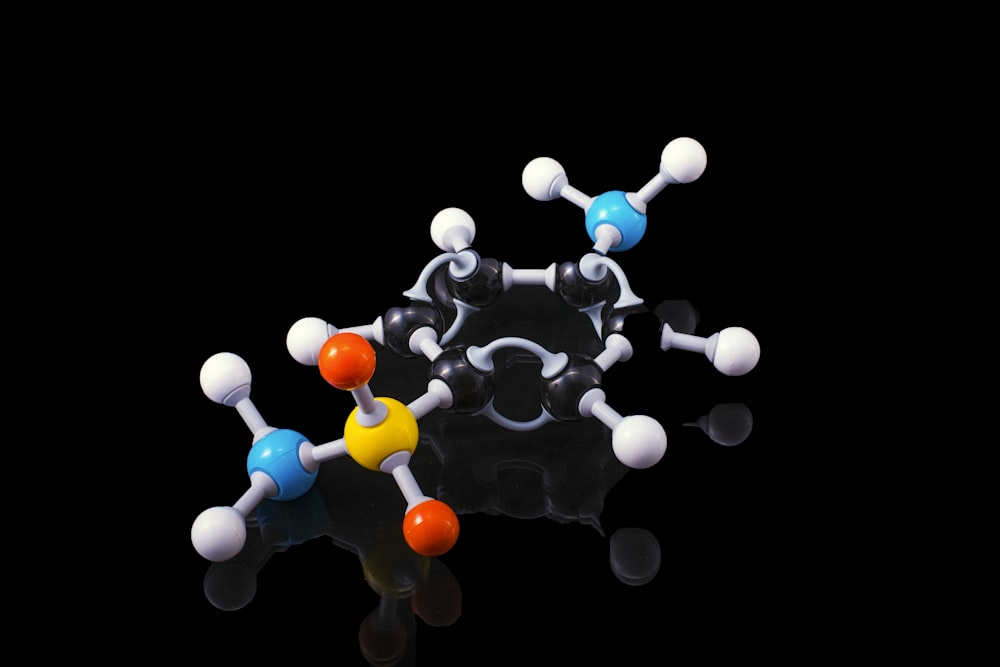
The fizz and foam are caused by the production of carbon dioxide (CO₂) gas. Vinegar (an acid, acetic acid) reacts with baking soda (a base, sodium bicarbonate). This chemical reaction produces carbon dioxide, water, and a salt . The rapid production of this gas, trapped by the soap, creates the foamy flow we see.
This experiment is a child's first introduction to chemistry. It visually demonstrates chemical reactions, gas production, and acid-base chemistry .
Data from the Volcano: Measuring the Eruption
How can we make this qualitative wow-factor quantitative? By measuring and recording data.
Eruption Duration
How the strength of the acid affects the reaction.
| Vinegar Type | Duration (sec) |
|---|---|
| White (5%) | 25 |
| Cleaning (10%) | 38 |
| Diluted (2.5%) | 12 |
Lava Volume
How the amount of baking soda changes the product.
Temperature Change
Showing that reactions can release or absorb energy.
The temperature drops, indicating an endothermic reaction .
The Young Scientist's Toolkit
You don't need a high-tech lab to do real science. Here are the essential "research reagents" for a primary classroom.
Magnifying Glasses
Allows for close observation of small details on insects, leaves, crystals, and more. Develops the skill of careful looking.
Vinegar & Baking Soda
The classic acid-base reactants. Used for chemistry demonstrations to teach about gas production and chemical change.
Plastic Syringes
Versatile tools for measuring small volumes of liquids, and can be used to demonstrate principles of air pressure and hydraulics.
LED Lights & Batteries
Safe components for exploring basic circuits and electricity. Students learn about open/closed circuits, conductors, and insulators.
Seeds (e.g., Beans)
The foundation for life science studies. Used in experiments on plant growth, investigating the needs of living things.
Magnet Set
Introduces the invisible force of magnetism. Used for sorting materials and exploring magnetic fields.
Planting the Seeds for Future Innovation
The goal of these 200+ investigations is not to create a generation of Nobel Prize winners overnight. It is to plant a seed. It is to foster a mindset of curiosity, resilience, and logical thinking.
When a child sees a plant they grew from a seed bend towards the light, or when they feel the force of magnetism push two objects apart, they are not just learning a fact. They are internalizing a fundamental truth about how the universe works.
They are learning to be critical thinkers and problem solvers. By giving them the tools to explore, we are not just teaching science; we are empowering them to become the innovators, guardians, and discoverers of tomorrow . So, go ahead—ask a question, make a guess, and start experimenting!
Ready to Explore More?
Discover over 200 engaging science investigations for young students aged 5-11.